Planning a kitchen layout might be the most important decision you make during a renovation. Get it right, and you will enjoy years of effortless cooking and entertaining. Get it wrong, and you will battle daily frustration, no matter how beautiful the finishes.
Unlike cosmetic choices that can be updated later, your layout determines how you move through the space, where appliances sit, and whether the kitchen works with your lifestyle. For London and South East homeowners, particularly those renovating period properties or maximising compact spaces, thoughtful layout planning becomes even more critical.
This guide walks you through the essential steps to plan a kitchen layout that genuinely works for your home.
Start with How You Actually Use Your Kitchen
Before drawing a single line, spend time observing how you currently use your kitchen. The best layouts respond to real behaviour, not idealised magazine spreads.
Consider these questions:
Do you cook elaborate meals from scratch, or mostly reheat and assemble? Large families who cook daily need different layouts from couples who eat out frequently. If you batch cook and freeze, you need generous worktop space for prep and packaging. If you bake regularly, position your mixer near the oven with accessible ingredient storage.
How many people cook simultaneously? Couples who enjoy cooking together need carefully planned circulation space and duplicate work zones. Single cooks benefit from tighter, more efficient layouts where everything sits within easy reach.
Do you entertain regularly? If guests gather in the kitchen, consider sight lines, seating, and how you will serve food without turning your back on visitors. Island seating creates natural gathering points, whilst keeping the working side of the kitchen separate from guests.
What about morning routines? If multiple family members prepare breakfast simultaneously, you might need two toaster stations, multiple work surfaces, and clear pathways to avoid bottlenecks.
These observations reveal your true requirements, which often differ dramatically from generic kitchen plans.
Understand the Working Triangle Principle
The working triangle connects your three most-used points: hob, sink, and refrigerator. This concept, developed in the 1940s, remains relevant because it reflects how we naturally move whilst cooking.
The ideal measurements:
Each side of the triangle should measure between 1.2 and 2.7 metres. Too close, and you will feel cramped. Too far apart, and you will exhaust yourself walking.
The total perimeter should not exceed 8 metres. Beyond this, the kitchen becomes inefficient for single cooks.
Nothing should interrupt the triangle paths. Avoid placing islands, peninsulas, or doorways that force you to walk around obstacles constantly.
However, modern kitchens often challenge this principle. Many households now include multiple cooks, additional prep zones, coffee stations, and informal eating areas. The triangle provides a foundation, but you might need to think in terms of work zones rather than a single triangle.
Define Your Kitchen Zones
Professional kitchens organise by zones, and this approach works brilliantly in domestic spaces too. Each zone contains everything needed for specific tasks, reducing movement and improving workflow.
Essential kitchen zones:
Preparation Zone: Generous worktop space, near the sink for rinsing vegetables and filling pans. Include knife storage, chopping boards, and mixing bowls. Many cooks prefer this zone near a window for natural light. Allow at least 90cm of uninterrupted worktop.
Cooking Zone: Hob, oven, microwave, with heat-resistant landing space on both sides. Store pots, pans, cooking utensils, and oils here. Include extraction above. Allow 40-60cm of worktop either side of the hob for safety and convenience.
Washing Zone: Sink, dishwasher, bin, with draining space and cleaning supplies underneath. Position the dishwasher beside the sink, opening away from the cooking zone. Include 60cm of worktop on the draining side.
Storage Zone: Dry goods, spices, canned foods, baking ingredients. Place near the preparation zone for easy access whilst cooking. Include both ambient storage and your refrigerator/freezer.
Serving Zone: Plates, glasses, cutlery, table linens. Position near where you eat, whether that is a dining room, breakfast bar, or kitchen table. This reduces carrying distances and allows non-cooks to help set tables without entering work zones.
In larger kitchens, you might add beverage zones (kettle, coffee machine, mugs), baking zones (mixer, scales, baking tins), or snack zones (accessible to children without entering cooking areas).
Choose the Right Layout Type for Your Space
Your room shape largely determines which layout works best. Each configuration has strengths and limitations.
Galley Kitchen (Two Parallel Walls)
Common in Victorian terraces and flats, galley layouts offer excellent efficiency. Everything sits within easy reach, reducing walking. The narrow width forces discipline in design, preventing clutter.
However, two cooks will struggle to pass each other comfortably. Avoid placing the hob and sink directly opposite, which creates awkward crossing patterns. Instead, stagger work zones along each side.
Minimum width: 2.4 metres between units to allow comfortable movement. Narrower spaces become claustrophobic; wider galley kitchens waste steps.
Best for: single cooks, small spaces, period properties with existing architectural constraints.
L-Shaped Layout
Versatile and popular, L-shaped layouts work in various room sizes. They create natural work triangles whilst leaving floor space open for dining or circulation.
Corner units present the main challenge. Traditional corner cabinets waste space or require expensive mechanisms. Consider positioning the sink in the corner with windows above, which maximises natural light and avoids problematic storage.
Works well in open-plan spaces, where one leg faces the living area, creating visual connection without exposing kitchen mess.
Best for: medium to large kitchens, open-plan living, families who want separation between cooking and dining.
U-Shaped Layout
U-shaped kitchens surround you with workspace and storage. They suit dedicated kitchen rooms with three available walls. Multiple cooks can work simultaneously without crossing paths constantly.
The main risk is creating a cramped, enclosed feeling. U-shapes need minimum dimensions of 3 x 3 metres. Smaller spaces feel claustrophobic; you might be better with an L-shape.
Avoid placing doorways within the U, which disrupts workflow and removes valuable wall space. If doors are unavoidable, position them at one end rather than breaking up the middle section.
Best for: serious cooks, large families, dedicated kitchen rooms in period properties.
Island Layouts
Islands add workspace, storage, and seating, but require substantial floor space to work properly. You need at least 1 metre clearance on all working sides (1.2 metres is more comfortable for multiple cooks).
Many homeowners underestimate island sizes. A useful island with seating and storage typically measures 2.4 x 1.2 metres minimum. Smaller islands become glorified tables, offering little functional advantage.
Consider what your island will contain. Sinks require drainage and waste pipes. Hobs need extraction (expensive ceiling-mounted extractors or downdraft systems). Refrigerators need space for doors to open fully. Simple prep space with storage underneath often proves most practical.
Best for: large kitchens (18+ square metres), open-plan living, entertaining, families.
Peninsula Layouts
Peninsulas offer island benefits without requiring space on all sides. They extend from existing cabinetry, creating partial room divisions in open-plan spaces.
Peninsulas work particularly well for seating, with stools on one side and workspace on the other. They provide natural separation between kitchen work zones and living areas without solid walls.
However, peninsulas can disrupt circulation if poorly positioned. Ensure pathways remain clear on both sides, particularly if they connect to other rooms.
Best for: open-plan spaces needing definition, homes where full islands will not fit, creating breakfast bars.
Critical Dimensions to Remember
Professional kitchen designers work from standard dimensions that ensure comfort and safety. Deviating from these usually causes problems.
Circulation space: 1 metre minimum between facing units or appliances. 1.2 metres for households with multiple cooks or anyone using wheelchairs.
Worktop height: 90cm standard for UK kitchens. Taller individuals (over 6ft) might prefer 92-95cm. Consider varied heights for different tasks if you have the luxury of bespoke design.
Wall unit height: Bottom edge typically sits 45-50cm above worktops. Higher placement (55-60cm) suits taller individuals and reduces head-bumping, but may leave a gap that collects grease and dust.
Worktop depth: 60cm standard. 70cm provides generous workspace but reduces circulation space in compact kitchens.
Overhang for seating: 25-30cm minimum to allow comfortable leg room under breakfast bars or islands. Raise the bar height to 100-105cm for bar stools (standard worktop height feels too low for prolonged sitting).
Appliance landing space: 40cm minimum beside hobs for placing hot pans. 40cm beside refrigerator doors for unpacking shopping. 40cm beside wall ovens (at the same height) for removing hot dishes.
Avoid These Common Layout Mistakes
Even experienced renovators make layout errors that prove expensive to rectify later.
Insufficient worktop space: Tight layouts sacrifice counter space for additional storage or appliances. You need extended clear worktop for rolling pastry, assembling ingredients, or cooling baking. Aim for at least 1.5 metres of uninterrupted work surface.
Hob beside doors: Dangerous and disruptive. Opening doors create draughts that blow out gas flames or disturb cooking. People entering might knock hot pans. Position hobs at least 40cm from doorways.
Sink beneath windows that do not open: Attractive in theory, problematic in practice if you cannot reach window handles over deep sinks. Specify windows that open via handles positioned to either side, or choose different windows.
Refrigerator blocking circulation: Large American-style refrigerators need substantial door clearance. Ensure the swing does not block main pathways or trap you behind it. Consider counter-depth models in tight layouts.
Insufficient lighting: Overhead pendants create shadows where you work. Plan under-unit lighting for all work surfaces, particularly preparation zones. Task lighting transforms kitchen usability.
Forgetting the bin: Where will your bins live? You need easy access from the sink and prep areas. Pull-out bin cupboards work well beside the sink, but must open away from the dishwasher.
Ignoring practical storage: Deep corner cabinets waste space. Overly tall wall units cannot be reached without step stools. Specify storage suited to what you actually own, not generic options.
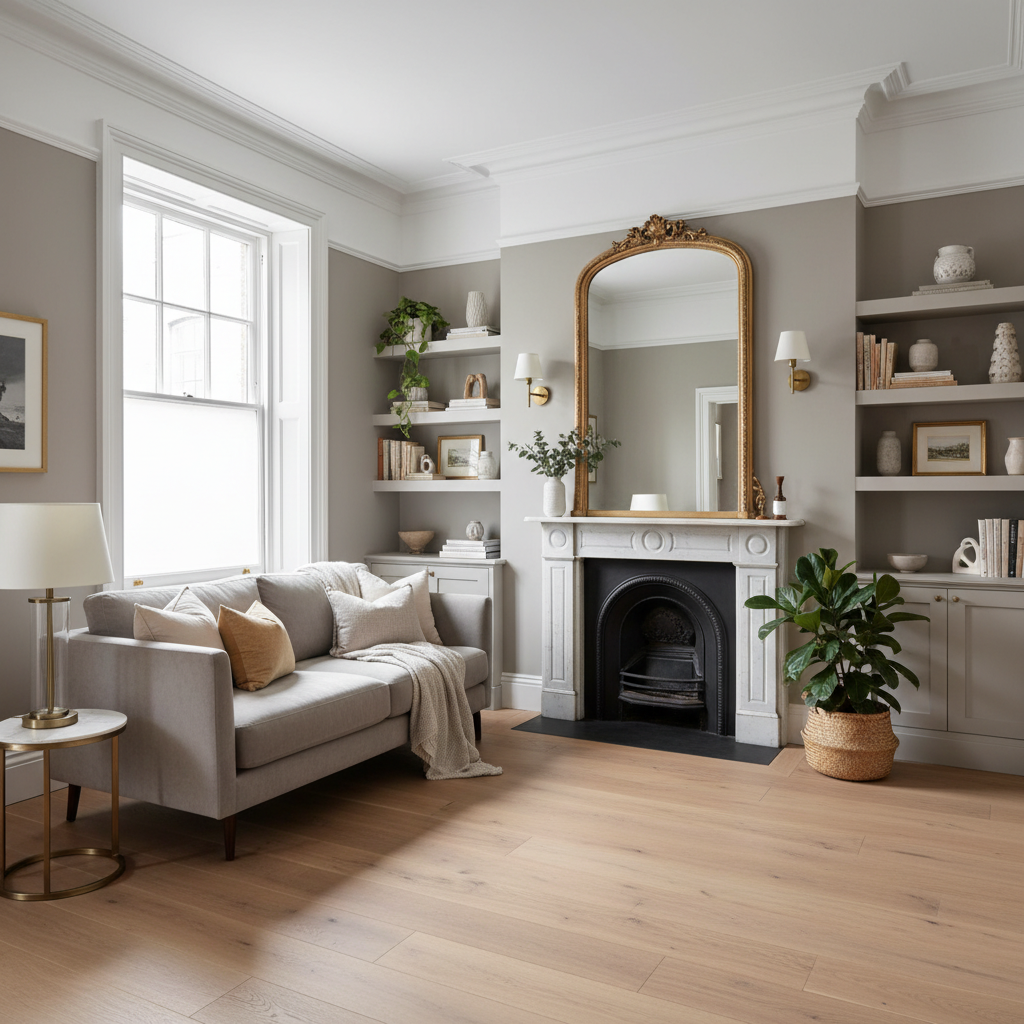
Consider Your Period Property Constraints
London and South East homeowners often work within existing architecture that constrains layouts. Rather than fighting your building, embrace its character whilst making practical adaptations.
Chimney breasts: These project into the room, disrupting modern runs of cabinetry. Consider building them into alcoves for refrigerators or ovens, turning obstacles into features. Original fireplaces might be reopened as character features, with cabinetry running either side.
Structural walls: Load-bearing walls cannot simply be removed for open-plan living. Structural engineers can insert beams, but this proves expensive and may not be viable in all properties. Sometimes embracing a separate kitchen room proves more practical than forcing open-plan layouts.
Ceiling heights: High Victorian and Edwardian ceilings allow tall wall units or open shelving that draws the eye upward. Low cottage ceilings might suit wall-unit-free designs with shelving or glazed cabinets that feel less oppressive.
Uneven floors and walls: Period properties rarely have perfect right angles or level floors. Bespoke cabinetry accommodates quirks that flat-pack kitchens cannot. Budget for scribing, packing, and adjustments during installation.
Listed building restrictions: Conservation officers may restrict changes to windows, walls, or finishes. Seek advice early in your planning process. Freestanding furniture kitchens sometimes prove easier to approve than fitted cabinetry in sensitive buildings.
Test Your Layout Before Committing
Once you have a proposed layout, test it thoroughly before ordering cabinets.
Tape out the plan: Use masking tape on your existing floor to mark cabinet positions, island outlines, and appliance locations. Live with this for several days, walking through typical routines. You will quickly discover whether circulation space feels generous or cramped.
Use boxes as stand-ins: Cardboard boxes approximate appliance sizes and heights. Place them where your refrigerator, oven, or island will sit. Can you open doors fully? Does the island obstruct movement?
Check door swings: Mark which way cabinet and appliance doors will open. Do they clash with each other? Can you open the refrigerator whilst someone works at the hob?
Consider future changes: Will babies become teenagers who raid the fridge at midnight? Might elderly parents move in, requiring wheelchair access? Aging parents might need lower work surfaces and easy-reach storage. Build in flexibility where possible.
Get second opinions: Ask friends, particularly those who cook regularly, to walk through your taped layout. Fresh perspectives spot issues you might have overlooked.
Work with Professionals When Appropriate
Kitchen layout planning suits confident DIYers for straightforward spaces. However, several situations benefit from professional expertise.
Consider hiring professionals when:
Your project involves structural changes (removing walls, adding extensions). Structural engineers ensure safety, whilst architects navigate planning permissions.
You have awkward spaces (angled walls, multiple doorways, sloping ceilings) that challenge standard layouts. Designers develop creative solutions to difficult constraints.
Your budget is substantial (over £30,000). Professional designers access trade discounts that partially offset their fees, whilst ensuring you avoid expensive mistakes.
You lack confidence visualising the finished result. 3D renders show exactly how your kitchen will appear, allowing refinement before ordering.
Your property is listed or in a conservation area. Specialists understand what conservation officers will approve, streamlining the process.
What designers provide:
Accurate technical drawings for builders and suppliers. Measured site surveys. 3D visualisations. Project management. Trade contacts. And crucially, they ask questions you might not have considered, drawing out requirements you did not know you had.
Final Thoughts on Kitchen Layout Planning
The perfect kitchen layout balances beauty with relentless practicality. It reflects how you truly live, not how you wish you lived or how magazines suggest you should live.
Take time at this stage. Move slowly. Question every decision. The best layouts feel inevitable, as though the kitchen could not possibly have been arranged any other way.
Your layout will outlast fashionable door colours and trendy worktop materials. Get this foundation right, and everything else follows naturally.